AquaStar Pipeline FIlter Pressure Gauge | PF2011
AquaStar Pipeline FIlter Pressure Gauge | PF2011
SKU#: PF2011
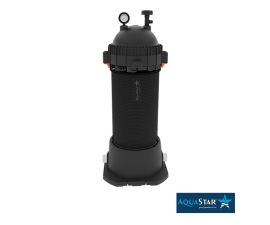
PF2011 AquaStar Pipeline FIlter Pressure Gauge for PLF27000 and PLF35000
$19.99
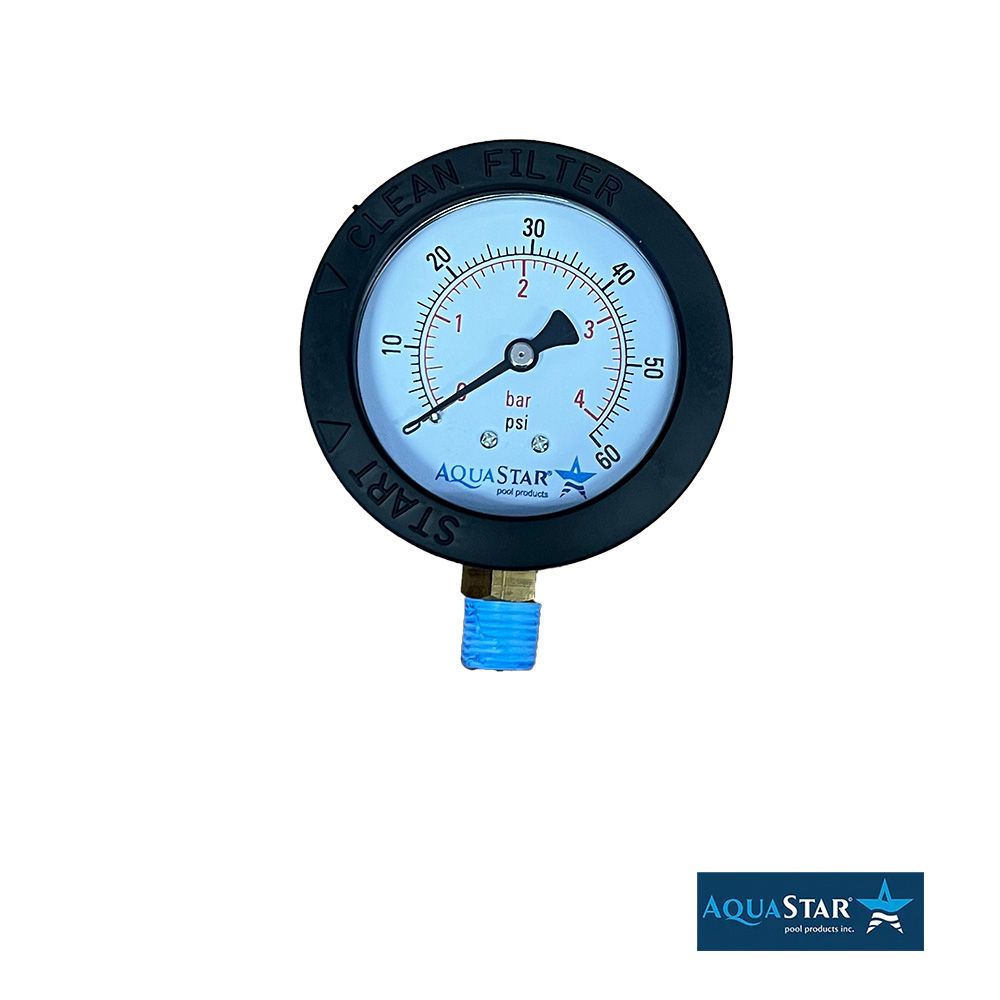
The pressure gauge is supplied with an adjustable boot with two arrows separated by 10 psi. This is to mark the clean filter pressure allowing users to see the pressure rising above the START pressure and to know when the filter should be cleaned.
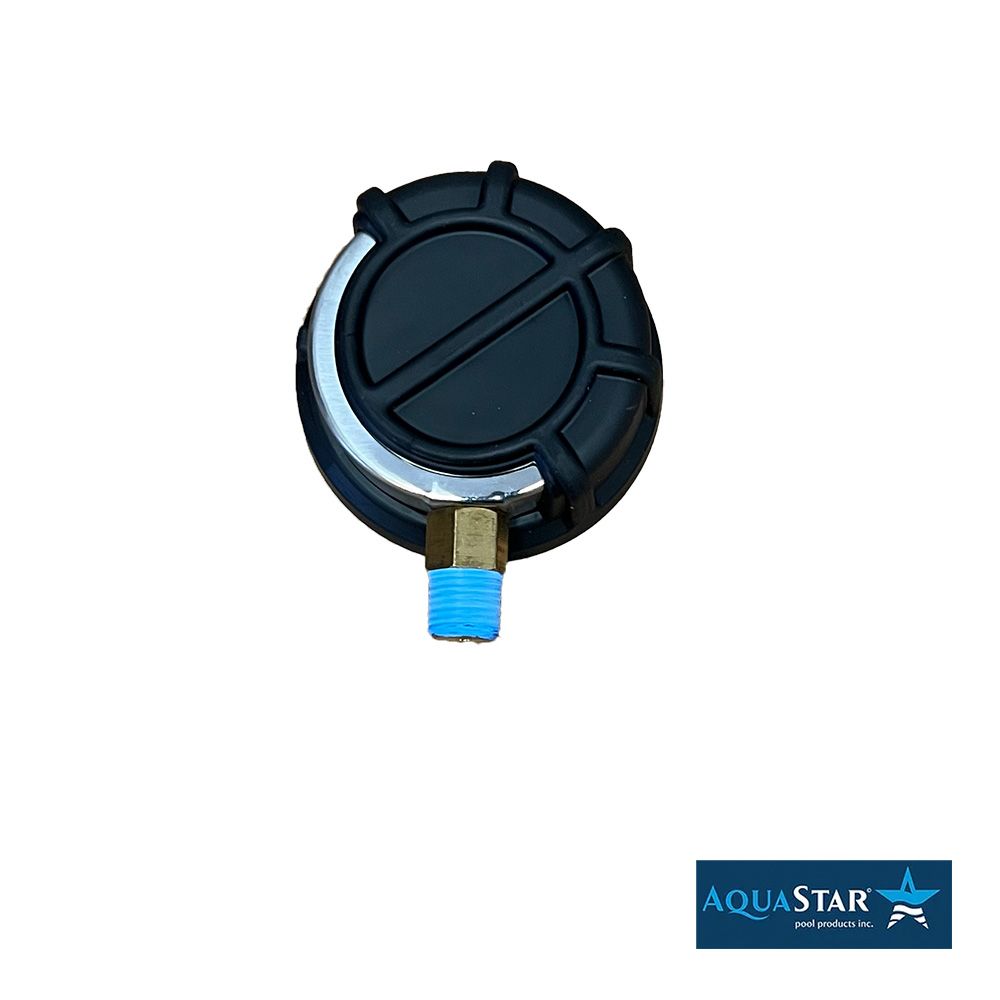
• Apply two or three wraps of Teflon tape to the pressure gauge ¼-inch threads.
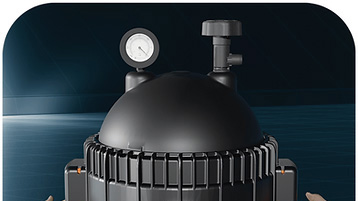
• Carefully thread the gauge into the ¼-inch NPT hole in the filter Lid. Turn the gauge by hand until snug and then use a 9/16-inch or 14mm box-end wrench to finish tightening the gauge so it is facing a readable direction.
• DO NOT OVER TIGHTEN.
• When the filter is started for the first time, the Boot will need to be adjusted so the START Arrow points at the operating gauge needle when the filter is new and clean, and with the pump and recirculation system configured and operating at the design filtration flow rate.

-
Product Details
About this product
Description
Initial pressure gauge set-up
With a new or clean filter cartridge installed, configure the recirculation system valves and pump so the system is operating at the design filtration flow rate. After confirming the system is operating properly, use both hands to rotate the Pressure Gauge Boot so the START Arrow is pointing at the operating pressure gauge needle. A bouncing pressure gauge is normal, aim the Boot’s Start Arrow towards the middle of the bouncing needle’s operating range.IMPORTANT: While the Pressure Gauge Boot is very helpful, it can be moved without your knowledge so it is important to also record the new filter start-up filter pressure on the front of this manual for future reference.
When to clean the filter
For best results, clean your filter BEFORE pressure reads 10 psi higher than the original starting pressure. Your filter pressure reading will increase as it removes debris from your pool. This buildup of pressure will vary due to different bathing loads, temperature, weather conditions, etc. Check your filter pressure frequently, typically whenever you check your water chemistry and after you clean skimmer baskets.Highlights
How to read the pressure gauge
When reading a bouncing pressure gauge, estimate the middle of the bouncing needle and then use that as the filter’s current operating pressure.
Maintain the pressure gauge
The pressure gauge is the primary indicator of how the filter is operating. Maintain your pressure gauge in good working order.How to check pressure gauge for normal operation
Check the operation of your pressure gauge in the following manner:
• The pressure gauge should go to zero (0) when the pump is OFF and the filter Manual Air Relief Valve is OPEN.
• The pressure gauge should indicate pressure when the system is operating properly, EXCEPT when a variable speed pump is operating at a very low speed.
Note: Please refer to the Head Loss Curve chart and notice that a new, clean filter cartridge can handle
approximately 70 gpm with only 1 psi of back-pressure (caused by the filter alone). A pressure gauge reading of zero (0) is not necessarily an indication there is a problem with the gauge or how the system is operating.
This is especially true for pool systems designed to the latest energy efficiency standards that use larger pipe and correctly sized return eyeball fittings. These systems are capable of moving large volumes of water with very little back-pressure on the filter or pump allowing these systems to filter water at very low pump speeds resulting in significantly lower energy costs.
• The pressure gauge should be readable and not damaged.
• Replace the pressure gauge if it isn’t working properly or is damagedFeatures
The pressure gauge is supplied with an adjustable boot with two arrows separated by 10 psi. This is to mark the clean filter pressure allowing users to see the pressure rising above the START pressure and to know when the filter should be cleaned.
• Apply two or three wraps of Teflon tape to the pressure gauge ¼-inch threads.
• Carefully thread the gauge into the ¼-inch NPT hole in the filter Lid. Turn the gauge by hand until snug and then use a 9/16-inch or 14mm box-end wrench to finish tightening the gauge so it is facing a readable direction.
• DO NOT OVER TIGHTEN.
• When the filter is started for the first time, the Boot will need to be adjusted so the START Arrow points at the operating gauge needle when the filter is new and clean, and with the pump and recirculation system configured and operating at the design filtration flow rate.Brand Information

AquaStar co-founder, inventor and engineer Olaf Mjelde has over 30 years of experience in the engineering and manufacturing business, and for many years developed complex assemblies for numerous Fortune 500 companies. At AquaStar, every product is held to the highest standard of quality, resulting in superior, dependable products that last; products that endure despite their continual exposure to harsh pool chemicals and intense ultraviolet light.
Visit Manufacturers Website -
Q/A
No Questions

Log in
Create a Free Account
Please fill out sign-up form
Sign up with your social media account
Or
Fill out sign up form
Why create an account
Sign up with your social media account