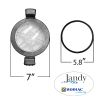
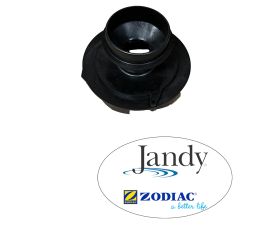
Jandy FloPro/ FHPM Pump Pot Lid 7" with Clamp O-Ring | R0480000
Jandy FloPro/ FHPM Pump Pot Lid 7" with Clamp O-Ring | R0480000
SKU#: R0480000
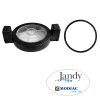
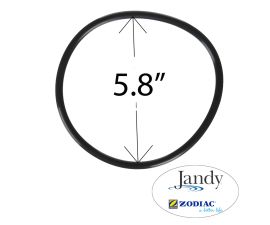
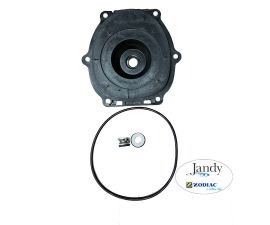
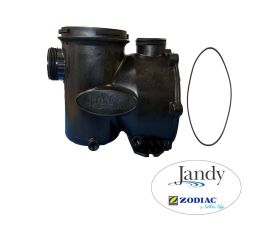
R0480000 Jandy Pot Lid with Clamp O-Ring Replacement for Jandy FHPM/FloPro and VS-FHP Series Pumps
-
Product Details
About this product
Description

Lid with Locking Ring, Lid O-ring, and Basket
1. Refer to Figure and the associated parts list to identify the parts included in each replacement kit.
2. Comply with the warnings and follow Steps 1-3 in Section 2, Pump Disassembly.
3. Turn the lid's locking ring counter-clockwise until 'START' aligns with the ports. Carefully remove the lid and lid o-ring.
4 To avoid air leaks in the system, remove debris on the lid o-ring seat, lid o-ring groove, and sealing surface on the pump trap.5. To replace lid with locking ring (R0480000) and lid o-ring (R0480200) only:
a. Clean the lid o-ring and place it in the lid groove.
b. Continue with Step 6 to replace debris basket or Step 7 to complete this procedure.6. To replace pump debris trap basket (R0480100) only:
a. Lift the debris trap basket out of the pump.
b. To avoid air leaks in the system, remove all debris from the pump.
c. Place new pump basket in pump housing. Align basket slot with positioning tab inside pump body (See Figure 8.) If aligned properly, the basket will drop easily into place. Do not force it into place.
7. Place the lid on the pump housing. Align 'START' with the ports and turn the lid's locking ring clockwise until 'LOCKED' aligns with the ports. Hand-tighten the lid. Do not use any tools.
8. Return valves to the proper position for normal operation.
9. Open the filter pressure release valve and bleed all the air out of the filter.
10. Close the pressure release valve assembly.
11. Turn on the power to the pump and check the system for normal operation.Highlights

Pump Lid Removal
1. Make sure that the pump is turned OFF.
2. Make sure that the switch to the circuit breaker to the motor is turned OFF.
3. Make sure all necessary isolation valves are closed to prevent water from reaching the pump.
4. Following the markings on the locking ring, turn the ring counter-clockwise until the ‘START’ markings align with the ports.
5. Carefully remove the lid with locking ring.Brand Information

Build the perfect pool environment with Jandy professional-grade swimming pool equipment. With a full line of pumps, filters, heaters, lights, valves, water sanitizers, and the automation solutions to control it all, Jandy has the complete equipment package for any swimming pool or spa.
Visit Manufacturers Website -
Q/A
No Questions




Log in
Create a Free Account
Please fill out sign-up form
Sign up with your social media account
Or
Fill out sign up form
Why create an account
Sign up with your social media account