Pentair GloBrite Gunite Niche | 620040
Pentair GloBrite Gunite Niche | 620040
SKU#: 620040
620040 Pentair Gunite Niche for GloBrite Pool and Spa LED Lights
$39.99
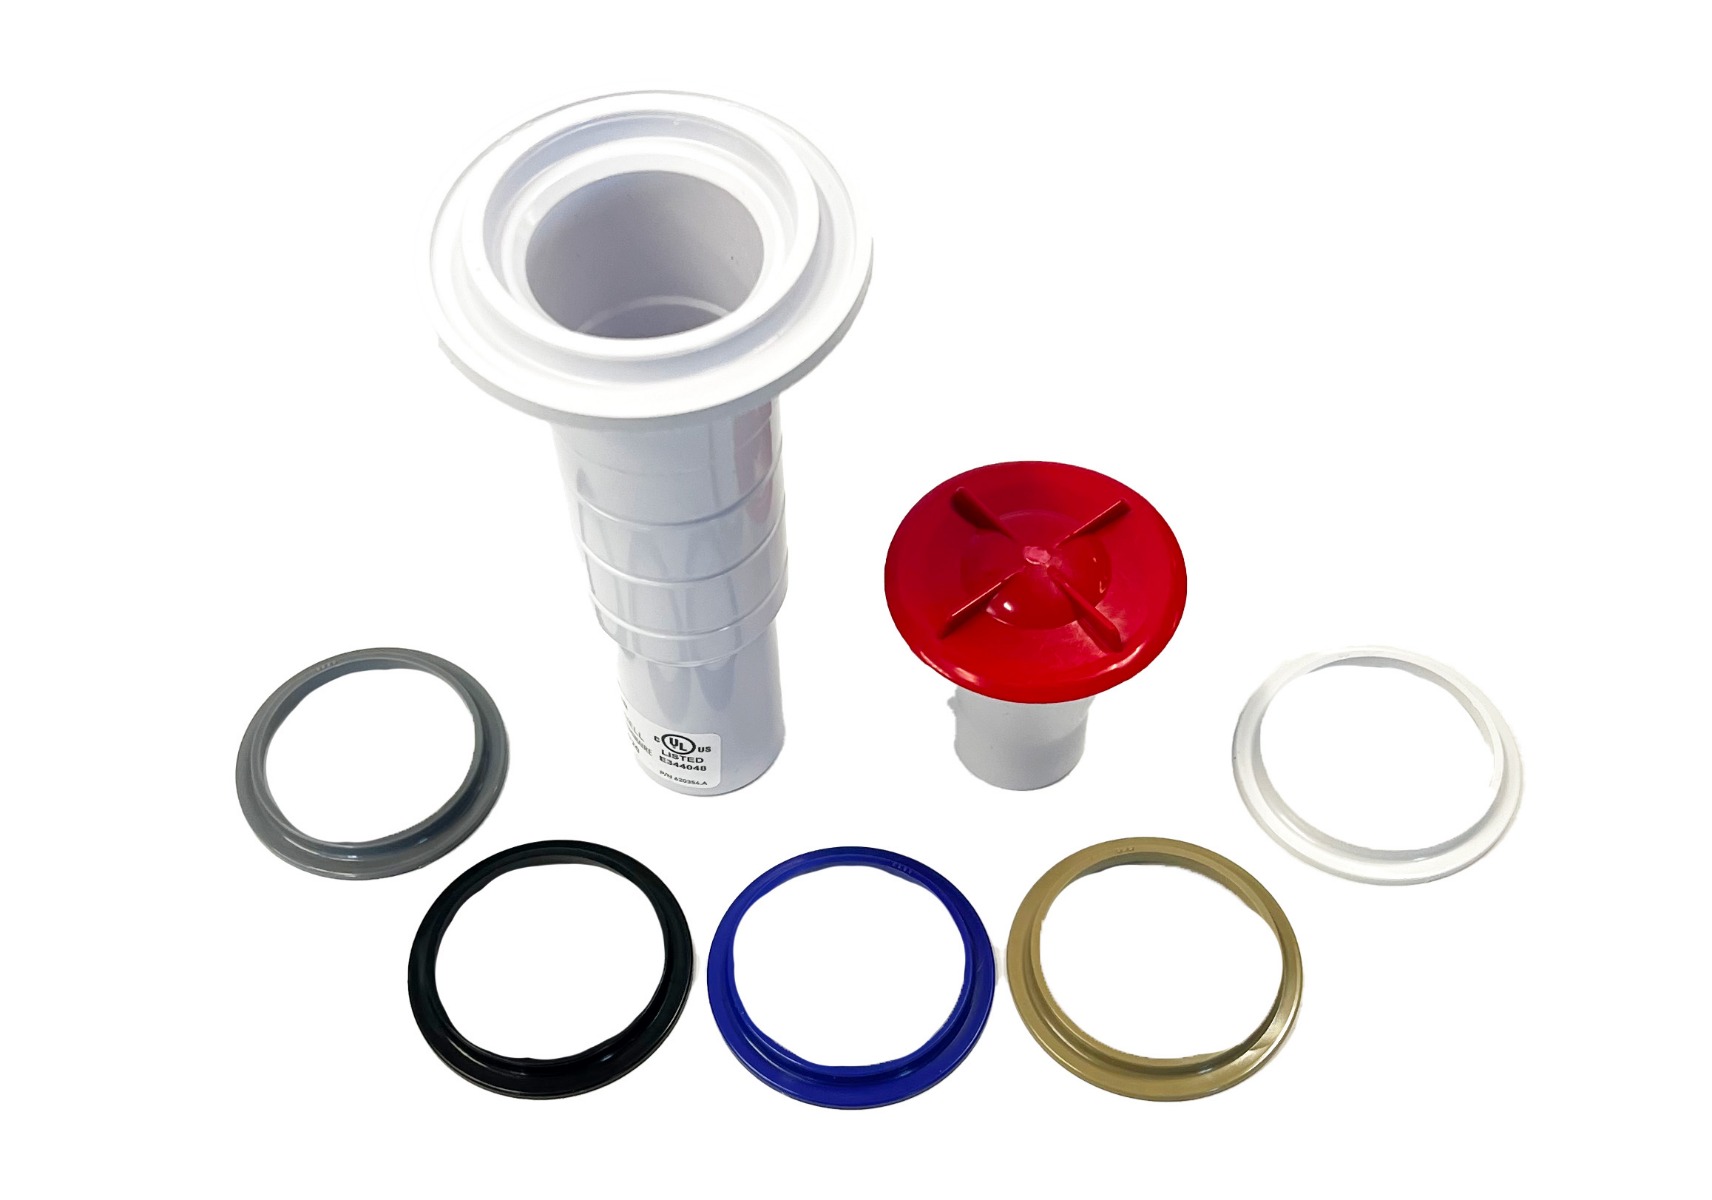
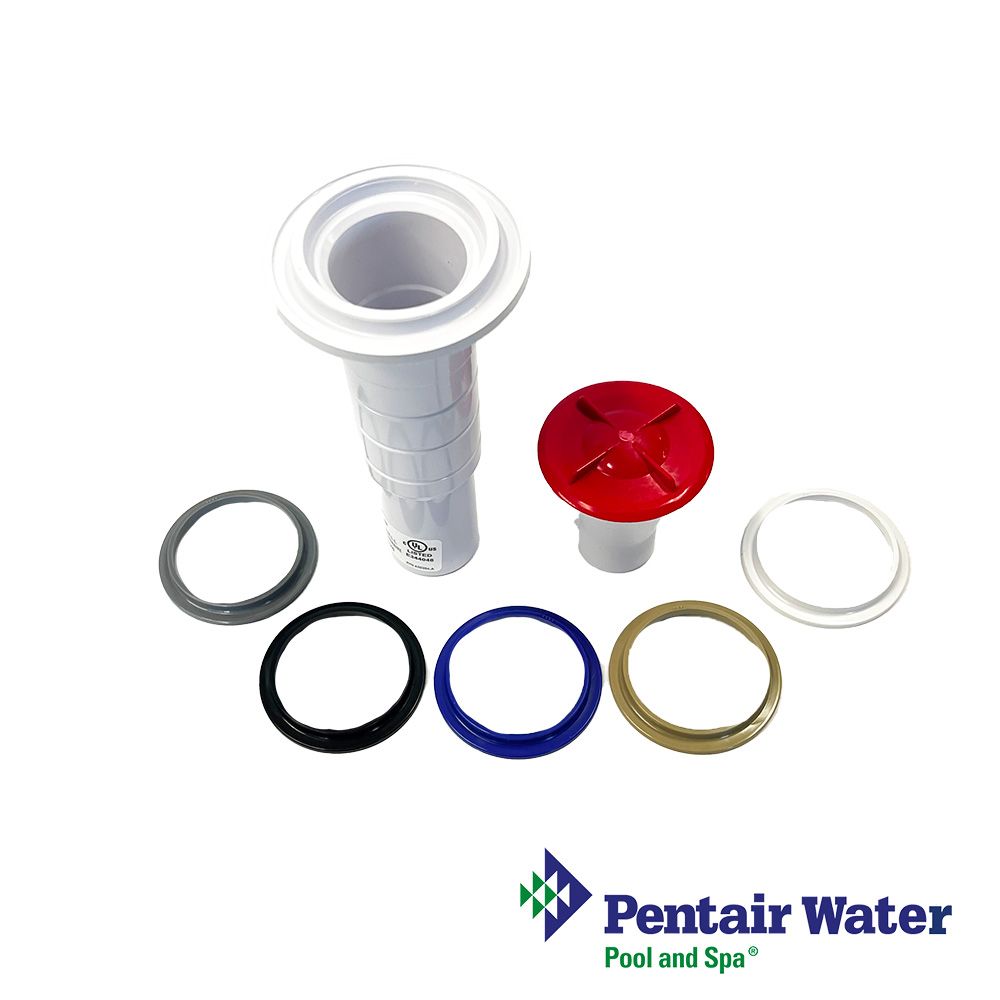
- Gunite Niche for GloBrite includes white, blue, black, gray and tan rings
- Energy efficient
- Convenient and more fun


-
Product Details
About this product
Highlights
Features
- Gunite Niche for GloBrite includes white, blue, black, gray and tan rings
- Energy efficient
- Convenient and more fun
Brand Information

Founded in 1966, Pentair has engineered water solutions to filter, clean and sanitize water to its purest state, while automation equipment makes it all easy to control from anywhere so that you can truly enjoy your pool and spa.
Visit Manufacturers Website -
Specifications
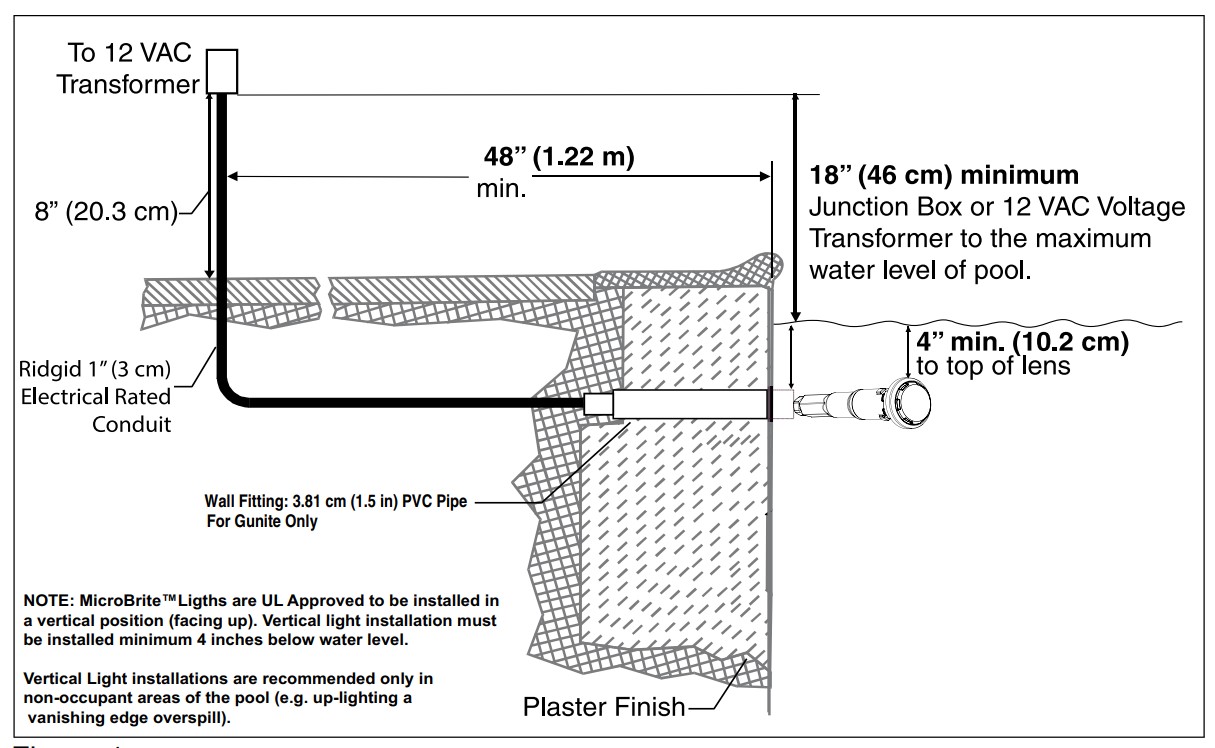
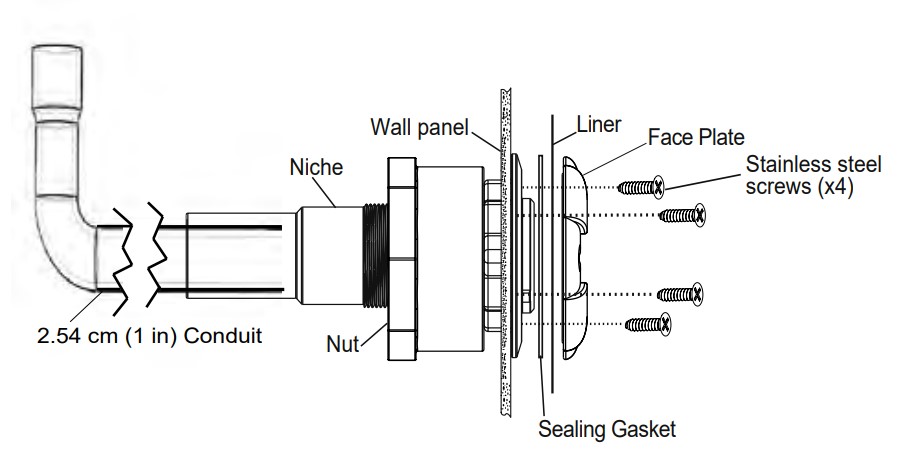
Installing BloBrite Light Sleeve and Niche in a Concrete/Gunite Pool
1. Install Sleeve: Locate positionon vertical poolor spa wallwherelight is to be installed. Thetopof thelight lens must be a minimumof four (4) inches below normal water level.
2. Install a 2 inch (5cm) PVC pipe Schedule 40 15" (38.1 cm) long in the desired location of the light niche sleeve.
3. Allow at least 1 inch (2.5cm) of the niche sleeve (2 inch (5 cm) PVC pipe) to extend out on both sides of the wall during your gunite operation. Cut any excess off the pipe so that it is flush against the wall before plastering.
4. Glue a 2" x 1" reducer bushing to the back side of the niche sleeve.
5. Glue the 1" conduit into the reducer as shown below. Make sure the 2" PVC pipe Schedule 40 accomodates for the total length of niche/cone and reducer assembly.

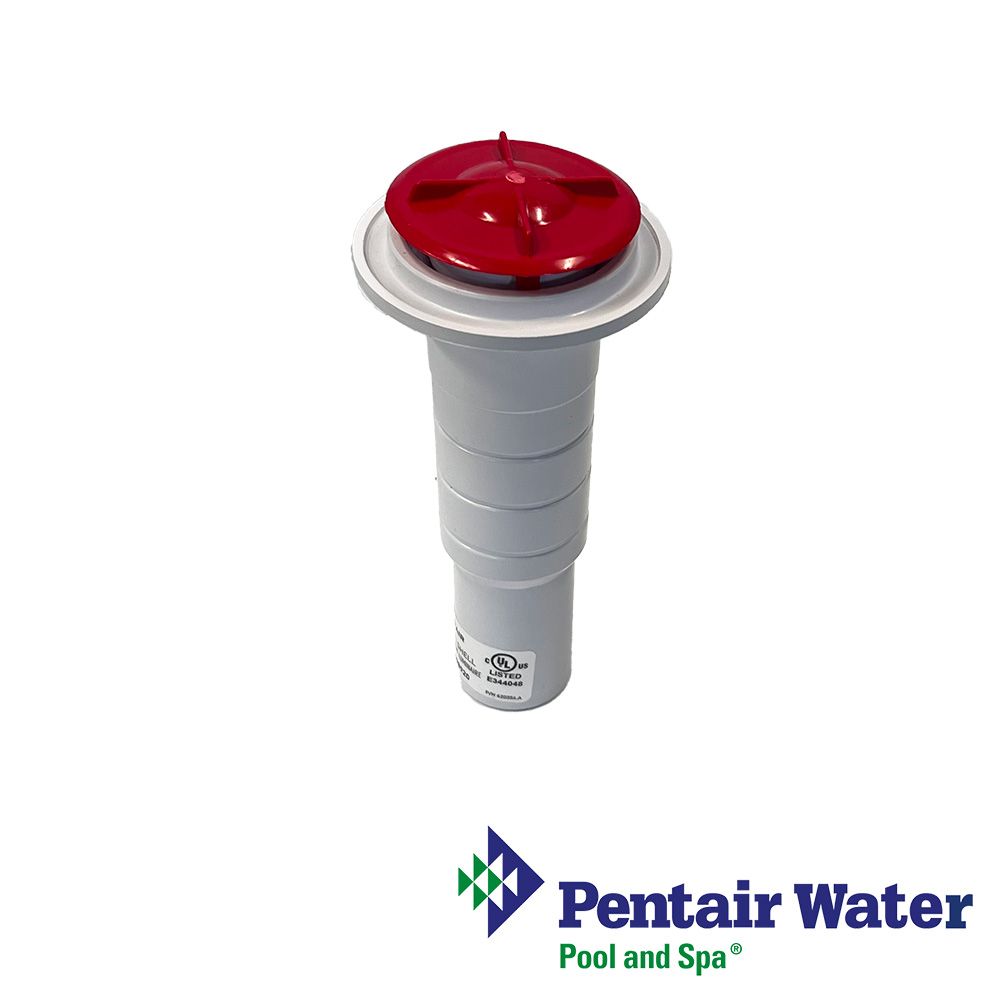
6. Glue the cone into gunite niche (the cone is used to guide the fish tape from the junction box into the niche).
7. Apply PVC cement the inside of the sleeve. Slide the gunite niche into the sleeve until it is flush with the gunite wall.
8. Install the desired color ring to the front of the niche.
Note: If Required by local codes, install the light into niche as described on page 8.
9. Using the niche during plastering. Note: If a gunite cover is not available, use masking tape to protect lens and cooling cavity from plaster operation.
10. Apply gunite plaster to pool wall up to the outer edge of the gunite cover. The gunite cover should be the only exposed part of the niche after plastering.
11. After the plastering has been completed, remove and dispose of the gunite cover.
-
Q/A
No Questions
Log in
Create a Free Account
Please fill out sign-up form
Sign up with your social media account
Or
Fill out sign up form
Why create an account
Sign up with your social media account