Jandy LJ Power Control Board | R0366800
Jandy LJ Power Control Board | R0366800
SKU#: R0366800
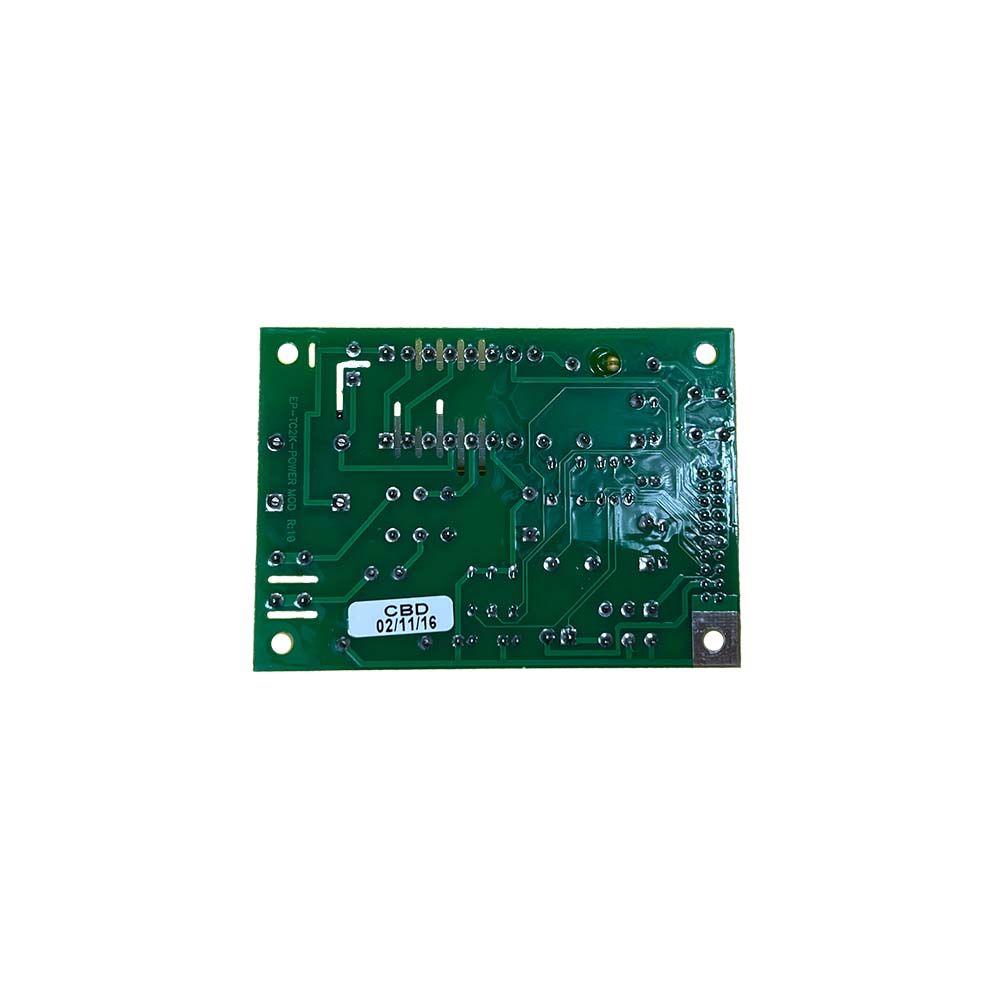
Jandy Power Control Board Replacement for Jandy Lite2LJ Pool and Spa Heater
- Fits Zodiac Jandy Lite2LJ pool and spa heater models 125, 175, 250, 325, 400
$429.99


-
Product Details
About this product
Description
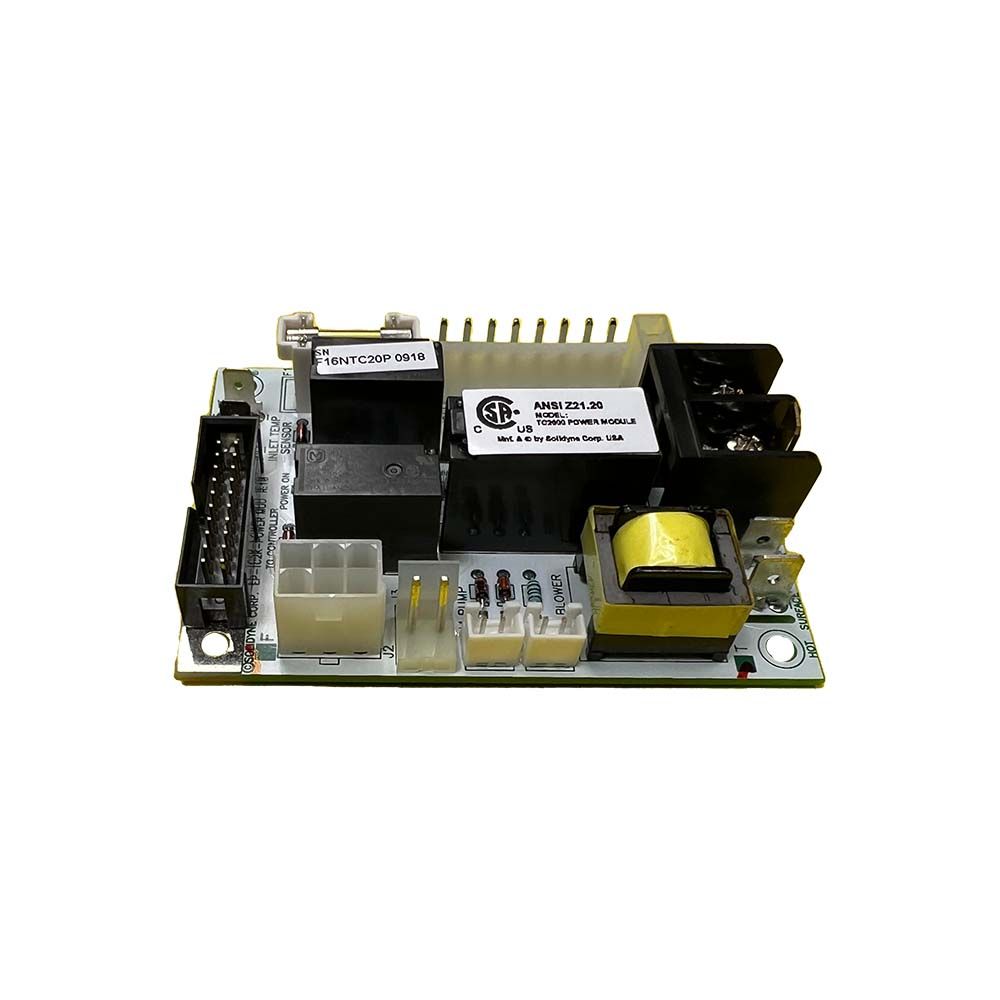
The power conversion plug for the LJ heater is made so that one side of the plug
accommodates 115V supply to the heater and the other side of the plug accommodates 230V supply to the heater. Each side of the plug is marked and color coded (blue is 230V, white is 115V). Be sure to use the correct side of the plug for the supply voltage to your heater. The power conversion plug for the model HJ heater is designed so that it can only be inserted for 115V.
Highlights
Fits Jandy Lite2 LJ Pool&Spa heater models
Lite2 LJ 125.000btu
Lite2 LJ 175.000btu
Lite2 LJ 250.000btu
Lite2 LJ 325.000btu
Lite2 LJ 400.000btu
Features
Brand Information

Build the perfect pool environment with Jandy professional-grade swimming pool equipment. With a full line of pumps, filters, heaters, lights, valves, water sanitizers, and the automation solutions to control it all, Jandy has the complete equipment package for any swimming pool or spa.
Visit Manufacturers Website -
Specifications
- Remove The Existing Power Distribution Board.
1.1.Turn off the power supply to the heater.
1.2.Remove the front panel (door) of the heater.
1.3. Remove the cover of the high voltage assembly connection box.
1.4. Use the labels provided to tag and mark the blower wire harness, leading to the blower relay (models HJ and LJ Low-NOx), the pump wire harness, leading to the pump relay, and the power supply wires so that they can be easily identified when reconnecting them to the new power distribution board (see Figure).
1.5. Unplug all of the wires and harnesses from the power distribution board.
1.6. Remove the power conversion plug from the board and set it aside. You will need it after installing the new power distribution board.
1.7. Remove the four (4) screws, one in each corner, that secure the power distribution board to the standoffs mounted on the back of the power connection box
- Install the New Power Distribution Board
2.1. Align the holes in the new power distribution board with the standoffs and replace the screws to secure the board.
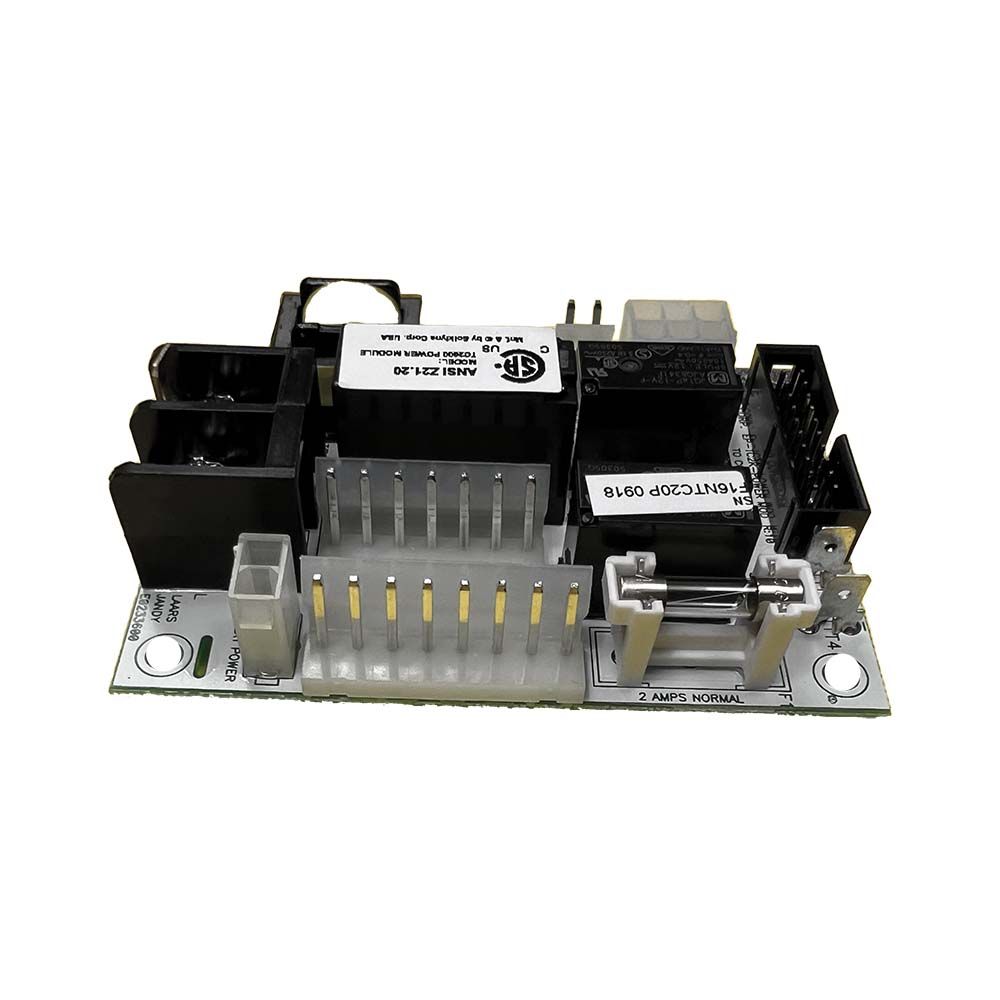
2.2.Reconnect all of the wires and harnesses to the power distribution board. All plugs are keyed and will fit only one way into the appropriate receptacle. If your heater has both a blower relay and a pump relay, be sure that each wire harness is plugged into the correct recep-tacle. Double-check your wiring with the wiring diagram on the inside of the heater. Receptacles on the power distribution board are labeled accordingly.
2.3. Insert the power conversion plug into the receptacle on the power distribution board.
2.4. Replace the cover of the power connection box.
2.5. Replace the panel ( door) of the heater.
2.6. Restore power to the heater.
2.7. Test the heater by running it through several ignition cycles.
-
Q/A
No Questions
Log in
Create a Free Account
Please fill out sign-up form
Sign up with your social media account
Or
Fill out sign up form
Why create an account
Sign up with your social media account